Getting Started with Cubination
Welcome to Cubination – The distributed password cracking system.
This is your comprehensive and friendly user's guide. It focuses on the Webadmin app, which is the primary way of controlling the Cubination system. It was designed to be elegant and as user-friendly as possible for a password cracking control panel. Here's what you can expect to find in this documentaion:
- Getting familliar with the interface
- An overview of how Cubination works
- How to connect compute nodes
- How to create a cracking job
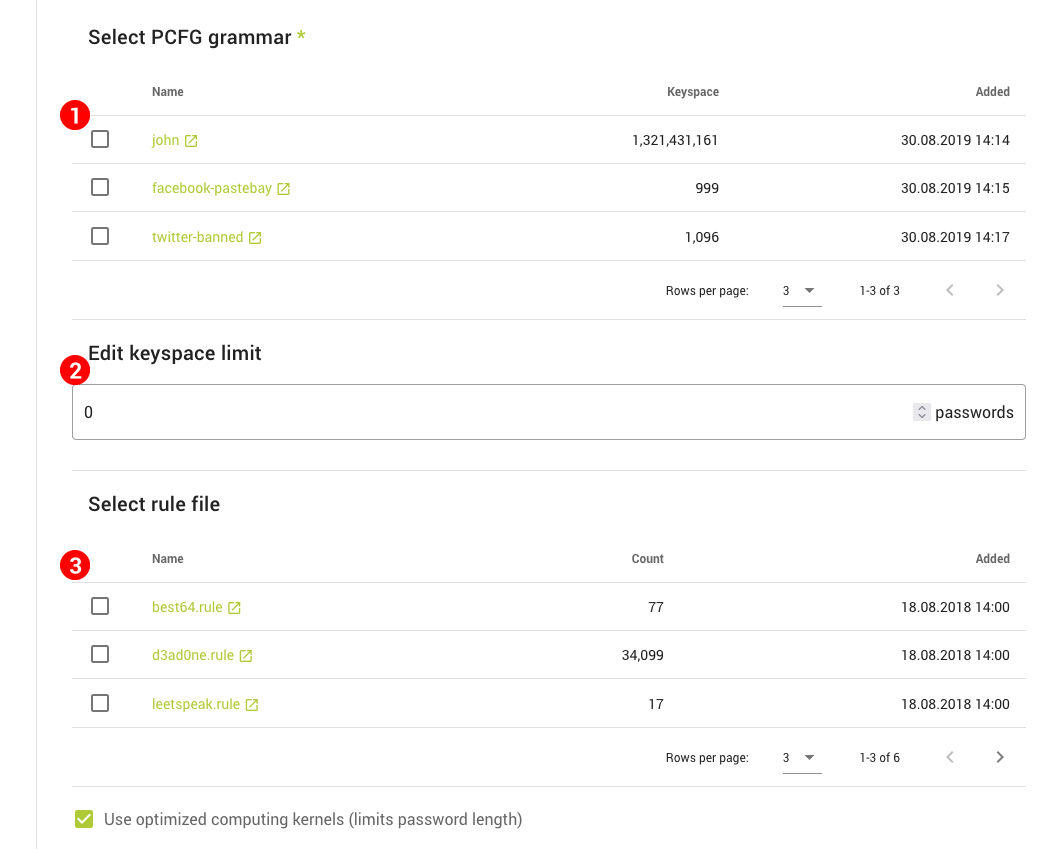
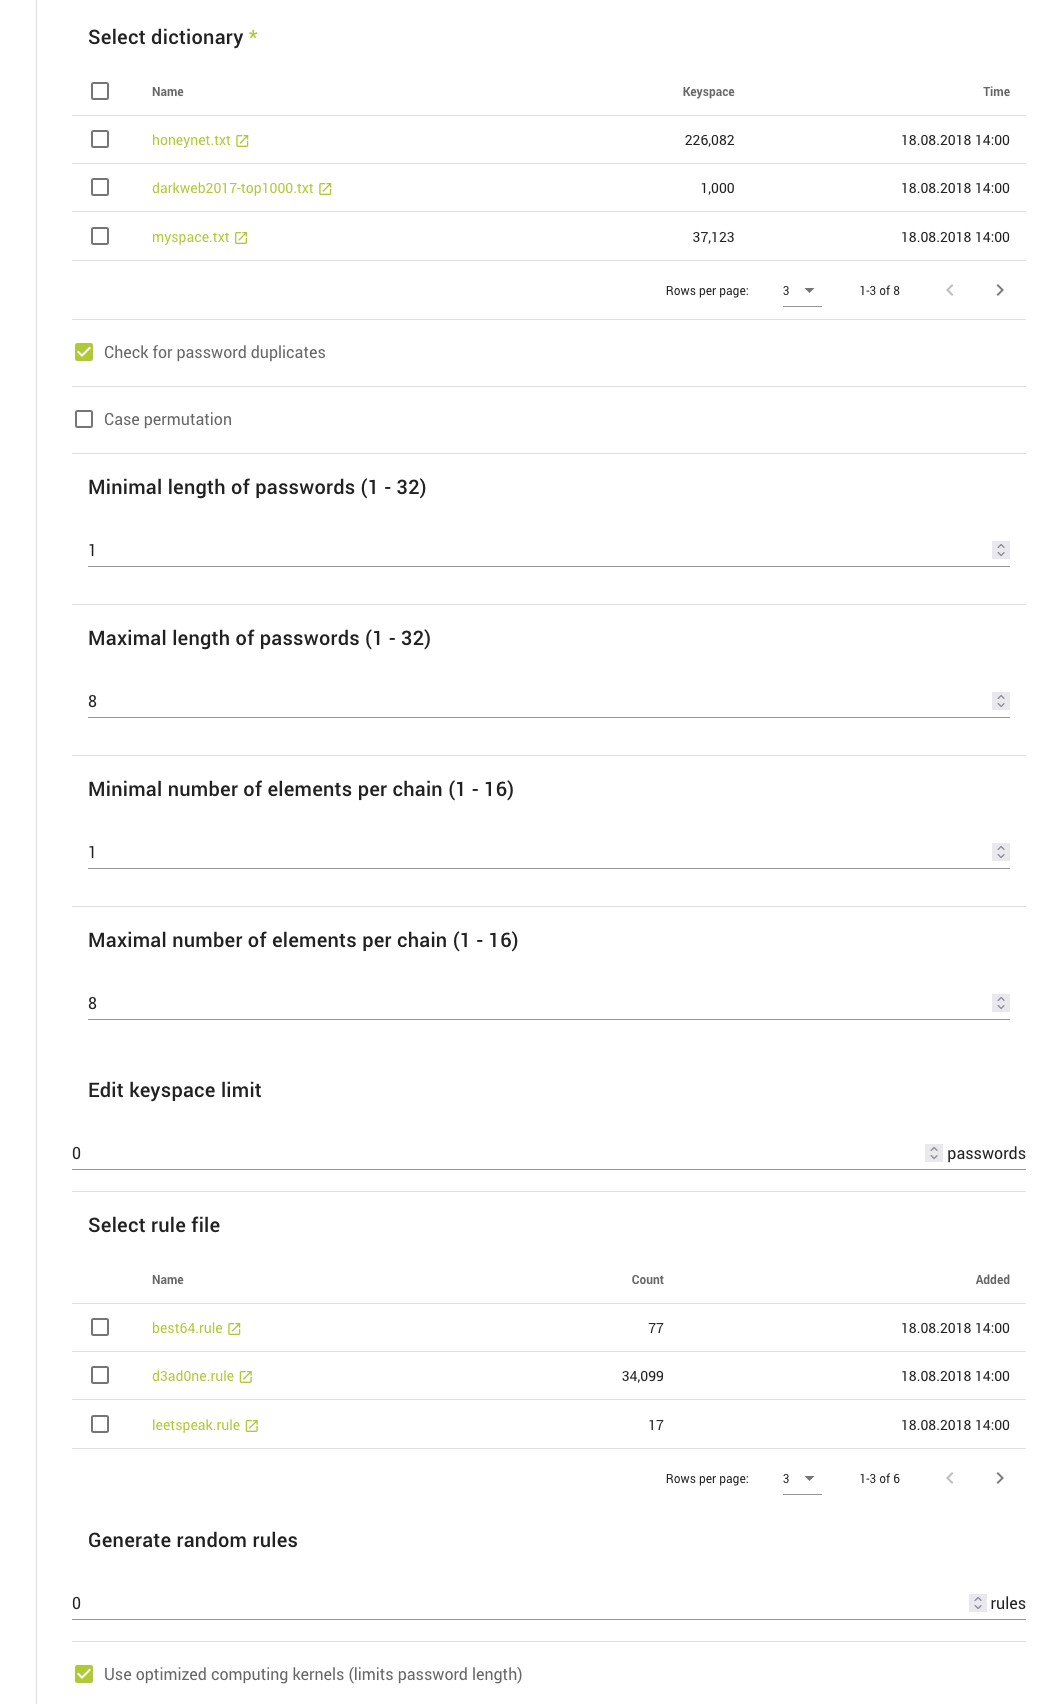
- What options are available for cracking
- How to work with jobs
- How to extend the system asset library
- How to manage users and resources
Before we can get started, you need to have your instance up and running. To learn more about that, visit the Cubination main site.

First login
When your Cubination instance is available, you can access it via the link you're provided with. You will also receive your credentials for logging into Webadmin. Your instance account has been prepared for you in advance.
Once logged into Webadmin, you are ready to start using Cubination! Let's go take a look around the app next.
Navigating the App
Webadmin is a web application and you can use it on any device with a web browser. This means that the app will look different on various form factors, for example a phone.
After logging in, you will see a permanent app bar up at the top and a navigation menu on the left. These are always available regardless of current context.
App Bar and the Dashboard

The Dashboard is your main overview of the system's current status. You can always go back there by clicking the Dashboard button (1).
The app bar is always at the top, and, in the case that it is hidden, gives you access to the navigation. On the right side, there is your profile name and a button to open the notification drawer. Clicking the profile name will bring up the account flyout (2), where you can see your role and permissions, go to the Account page or sign out. The notification drawer shows all of the notifications you received about job statuses and more. They are shown from newest to oldest.
An excerpt for the system monitor is also shown on the Dashboard (3), along with the status of jobs and hosts in the system. Below, you'll find latest job statuses in a bit more detail (4).
Main Navigation
The main navigation links to every part of the system. You can find a very brief overview of each of them below.
Jobs tab

- Add Job – The job creation form, see Creating Jobs
- Batches – Lists created job queues (batches), see Batch Cracking
- All Jobs – Lists all created jobs, see Jobs List
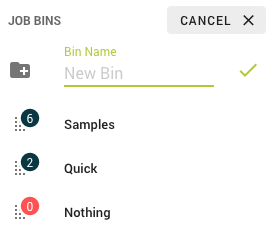
- Bins are job collections, see Job Bins
Library tab

- Hashes – Shows hashes known and stored by the system
- Dictionaries, PCFG, Rules, Charsets, Masks and Markov Chains – Shows the respective assets used in cracking and allows creating or uploading them
- Encrypted Files – Lists all of the encrypted files you uploaded to the Cube in creating jobs
System tab

- Hosts – Lists all host nodes connected to the system
- Job Templates – Lists saved job templates for management
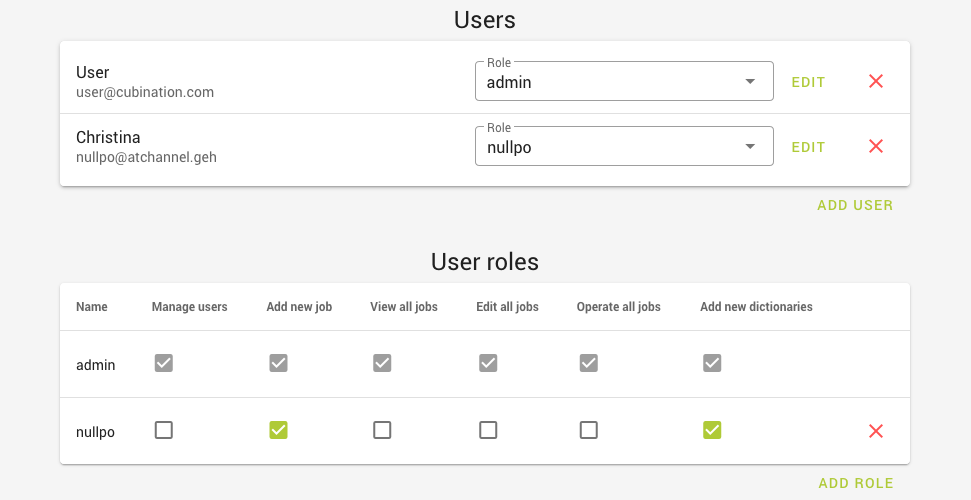
- Manage Users – Allows administrators to create and change user accounts, and to create or assign roles
- Server Monitor – Shows resource usage and service status
- Settings – Shows various settings for Webadmin and also for the Cubination configuration
- Data Transfer – Allows you to export and import jobs
Creating a Job
This chapter will take you through the entire process of creating a cracking job in Webadmin.
In this section, we'll first take a look at this process as a whole. The following sections talk about available input options and attack modes in greater detail.
Getting Started with Jobs
When you navigate to the Add Job page, you will see a form split into four distinct steps:
- Input settings – preparing hashes to crack
- Attack settings – configuring an attack method
- Host assignment – planning distribution across compute nodes
- Additional settings – fine tuning and planning
There are two fields above the main form. The name field is required, as the job name will serve as an identifier when accessing it later. The template list is optional. Templates can serve as a starting point when creating a job, filling out parts of the form with previously saved values.
Let's take a look at each of the steps of the main form.
Adding Input Hashes

In this first step, you input the hashes you want to try to crack. There are three ways to do so:
- Inputting the hashes manually
- Reading hashes from a file you upload
- Extracting from a protected file, like a PDF
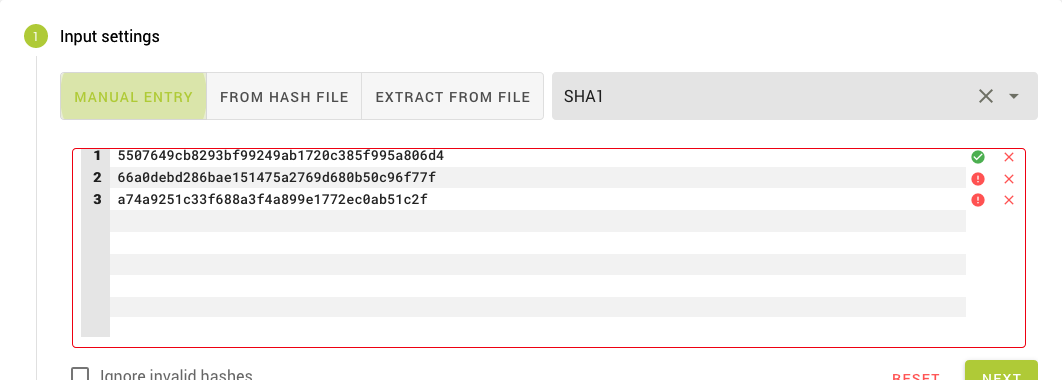
The next section takes an in-depth look at each of them. Select a method using the toggle button (1) and enter your hashes in the text area (2) or upload your files. Depending on the input method you chose, Cubination may be able to automatically detect the type of hash. If not, you have to select it manually from the dropdown (3).
After setting the hash type, each hash is validated. Green checkmarks indicate the hash is valid for this type (algorithm). Hashes that have already been entered into the system and are stored in the cache will have a yellow exclamation mark. This is purely informational. Invalid hashes, on the other hand, should not be used in the configuration. If one or more hashes are invalid, the input field is marked red and you won't be able to create the job.
Configuring Attacks

In this step, you choose an attack mode and configure it to fit the job. There are a few different attack modes to choose from, each with its own specific setup. You can find all of them, along with a detailed description and examples, in the Attack modes section.
Once you've set up the attack using valid combination of options, you should be able to create the job, assuming you provided a name for it and valid input in the previous step. But let's not get ahead of ourselves, there are two more steps to look at.
Assigning Hosts

In this step, you tap into the real potential of the Cubination system. The job we've been configuring until now will be distributed between compute nodes, called hosts, based on their measured computing power. You can select which of the hosts currently connected to the system will be participating in the cracking.
The table lists all available hosts. By default, all hosts are selected. To select or deselect a host for taking part in this job, use the checkboxes in the table (1) or use the checkbox in the table header to toggle all. Clicking the name of the host (2) will take you to its detail page. Not all hosts will necessarily be online at the time of creating the job. To see if a host is online or how long ago it was last seen, check the Online column (3). A green power icon indicates the host is available right now.
Tuning the Details

This is the last step and it's very much optional. Here you can add a comment (1) to the job, which will be visible in the detailed job view. You can also set a time and date for the job to start (2) or leave the checkbox labeled Immediately checked to let the job start when you, well, start it. Simmilarily, you can set a time and date for the job to end (4) or not set any limitation.
The Desired time per workunit field (3) sets how long each workunit (part of the job received by a host) should run on the host node. The default value for this field can also be set on the Settings page.
Finishing up
We have now explored the entire job creation form. There are now two ways forward. You can create a template that will be available in the dropdown described earlier. Note that not all settings from the form are saved to templates, namely input hashes and host assignment. Upon choosing to make a template, you will be prompted for a name (identical to the job name by default). You can continue to work with the form after the template is saved.
The other thing to do is, of course, to create the job. Assuming your settings are valid, the Create (or Save for later in case no hosts are assigned) button will be enabled. After the job is created, you will be taken to the detail view, where you can review it and start it up.
Hash Input
When creating a job, you will have to provide the hash or hashes to crack. Cubination Webadmin offers three ways to do this.

Select a method using the toggle button (1). Depending on the input method you choose, Cubination may be able to automatically detect the type of hash after you enter it. If not, you have to select the type manually from the dropdown (3).
Let's take a look at the available input methods:
Manual Entry
This method is selected by default. As the name suggests, you enter the hashes in text form in the input field (2) manually. Enter each hash on its own line.
This method cannot detect the hash type just from the text you enter, so you'll have to select the type from the hash type list (3). After you do this, the hashes will be validated and valid lines will have a checkmark icon at the end.
From Hash File
This method is simmilar to manual entry. Instead of inputting the hashes manually in a text field, however, you select a file to read. The file you select will not be uploaded. Instead, your browser will read the file contents and add the hashes to the input. From there, the proccess is identical as before, the hashes get validated after you select the hash type in the dropdown (3).
The files you select should contain hashes on separate lines, just like when entering manually. One difference to the manual entry method is that you can select not only a text file, but a binary hash file too.
Extract from File
Using this method, you can extract hashes from encrypted files. An example of this might be a password protected PDF document or an archive, like zip or 7z. To do this, Webadmin uses a tool called XtoHashcat, that runs on the Cube; hence, the selected file will have to be uploaded to the Cube and processed there.
If the tool succeeds in extracting the hash, it will be added to the input. The hash type will also be selected automatically in most cases, and the hash will be validated immediately.
